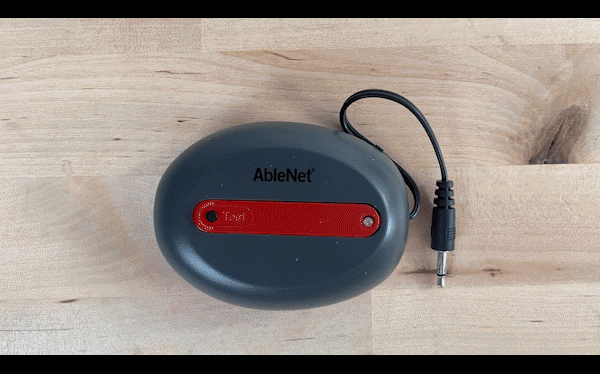
Getting Started With the AbleNet Wireless Receiver


Introduction🔗
The video below offers an introduction and overview of how to use the AbleNet Wireless Receiver. It will guide you through the initial setup, including pairing with an AbleNet Big Beamer or Jelly Beamer Transmitter. You must have one of these wireless switches to use the Wireless Receiver.
Additional Resource Links🔗
- Wireless Receiver Quick Start Guide
- Wireless Receiver Instructions for Use
- Getting Started With Jelly Beamer Transmitter
- AT Resource Hub for activities and curriculum featuring this device
Tips and Troubleshooting🔗
Pairing🔗
To connect the Original Wireless Receiver to a Jelly Beamer, follow the steps below:
- Insert new batteries into the Jelly Beamer and Wireless Receiver.
- Turn ON both the Jelly Beamer and Wireless Receiver
- Press and hold the Test button on the Wireless Receiver until the LED turns green (about 5 seconds).
- Press the switch on top of the Jelly Beamer to link it to the receiver.
- NOTE: you can repeat this step for additional transmitters (up to 8 transmitters can be paired to a single receiver).
- Press the Test button once on the Wireless Receiver to exit pairing mode.
Batteries🔗
We recommend always using regular, alkaline batteries to avoid any issues with your device. If your device is not working correctly, it may be due to one of two battery issues:
- Low or Depleted Batteries: The batteries in your device may need to be replaced.
- Battery Type Issues: If you’re using rechargeable batteries or batteries labeled “Heavy Duty,” “Industrial Grade,” or “ProCell,” these types may cause the device to behave as if the batteries are low or dead. These battery types manage power differently than regular alkaline batteries, so we do not recommend using them with this product.
How to resolve:
- Replace the batteries with new, regular alkaline batteries.
- Make sure the replacement batteries are fresh and recently purchased. Used batteries or batteries that have been sitting unused for some time may not have enough power to operate your device properly.
Swapping Color Chips🔗
To swap out the color chip, you’ll need a small flathead screwdriver. Please follow the instructions below or review the GIF to watch these steps.
- Make sure the device is aligned so that the AbleNet text is upright.
- Using your small flathead screwdriver, insert it into the space on the right side of the color chip, between the color chip and the groove in the wireless transmitter.
- Gently pry the chip upwards until the tab pops out so you can remove it.
- Take your desired color chip and orient it so that the “Test” text and hole align with the test button.
- Gently insert the left side tab into the left groove slot and then press down on the right side tab on the color chip until it snaps into place.
- If this is correctly placed, the chip will be completely flush with the device.
Please visit the Wireless Receiver Support Hub for additional support resources.
Additional Support🔗
Register and Reach Out🔗
Register your product for access to ableCARE or get more help from the ableCARE Product Success Team.
Was this article helpful?
2 of 7 found this helpful