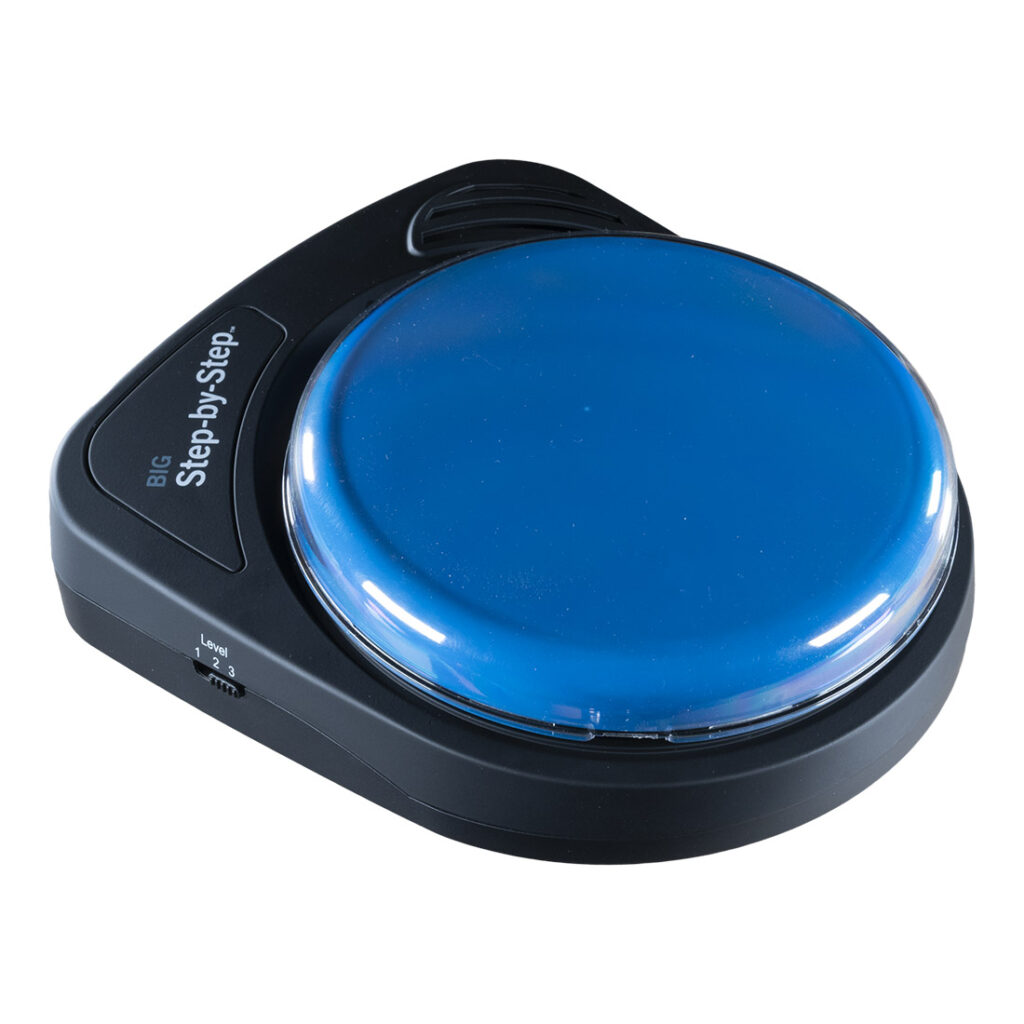
Securing the Colored Switch Cap on the BIG Step-by-Step


Summary🔗
Some users may find that the colored switch cap comes off too easily while using the BIG Step-by-Step. This article will describe how to secure it so it remains in place.
Required Items🔗
- BIG Step-by-Step
- A semi-permanent adhesive such as:
- Elmer’s School Glue
- Hot glue from a hot glue crafting gun
- Thread seal tape (otherwise known as plumber’s tape)
- Removable mounting or poster putty
Instructions🔗
To better secure your switch top to the body of your BIG Step-by-Step, we recommend adding a small amount of semi-permanent adhesive to the threads of the switch top. This will provide additional resistance to help hold the switch top in place. To do this, follow these steps:
- Select an adhesive from the list above.
- Remove the colored switch top from the BIG Step-by-Step by twisting counterclockwise.
- Ensure that the switch cap and the mounting area are clean and dry.
- Add the semi-permanent adhesive to the threads on the device.
- If using glue or putty, apply a small amount directly to the mounting surface of the switch cap.
- If using thread seal tape, wrap a thin layer of tape around the mounting area.
- Replace the colored switch top of your choice back onto the device by twisting clockwise.
- If using glue, allow sufficient drying time as recommended by the manufacturer before using your device.
Tips and Troubleshooting🔗
- If the switch cap still feels loose, try applying an additional adhesive layer or tape for extra grip.
- Avoid using permanent adhesives, as they may make future removal difficult or damage the device.
- If you need to remove the switch cap later, gently twist and pull it off. If necessary, use warm water to loosen glue-based adhesives.
Please visit the BIG Step-by-Step Support Hub for additional support resources.
Register and Reach Out🔗
Register your product for access to ableCARE or get more help from the ableCARE Product Success Team.
Was this article helpful?
0 of 0 found this helpful