How to Print a Symbol Overlay for the All-Turn-It Spinner


An overlay can enhance the usage of AT devices such as the All-Turn-It Spinner. The below instructions and link will explain how to print and assemble overlays for the All-Turn-It Spinner.
Required Items🔗
- A computer with an internet connection
- A printer
- Scissors
- Clear tape
- A laminator (optional)
- An All-Turn-It Spinner
How to Print and Assemble the Overlay🔗
- Download the overlay document and instructions by clicking here.
- Choose the paper size you would like to print your overlays on. The document has the overlays in 8.5″ x 11″ or 11″ x 17″ paper sizes.
- Choose the type of overlay you wish to make. Specifically, Set A is two colors, Set B is four, and Set C is six.
- Print the overlay pages with the following printer settings:
- 100% scale
- full color
- one-sided
- landscape orientation
- Laminate the pages if desired.
- Cut out the overlay pieces and tape them together, matching the labeled sides
- For example, match side one to side one only using pages from set A.
- Lastly, Trim to fit.
Once you have assembled the overlays, the All-Turn-It Spinner should look similar to the pictures below.
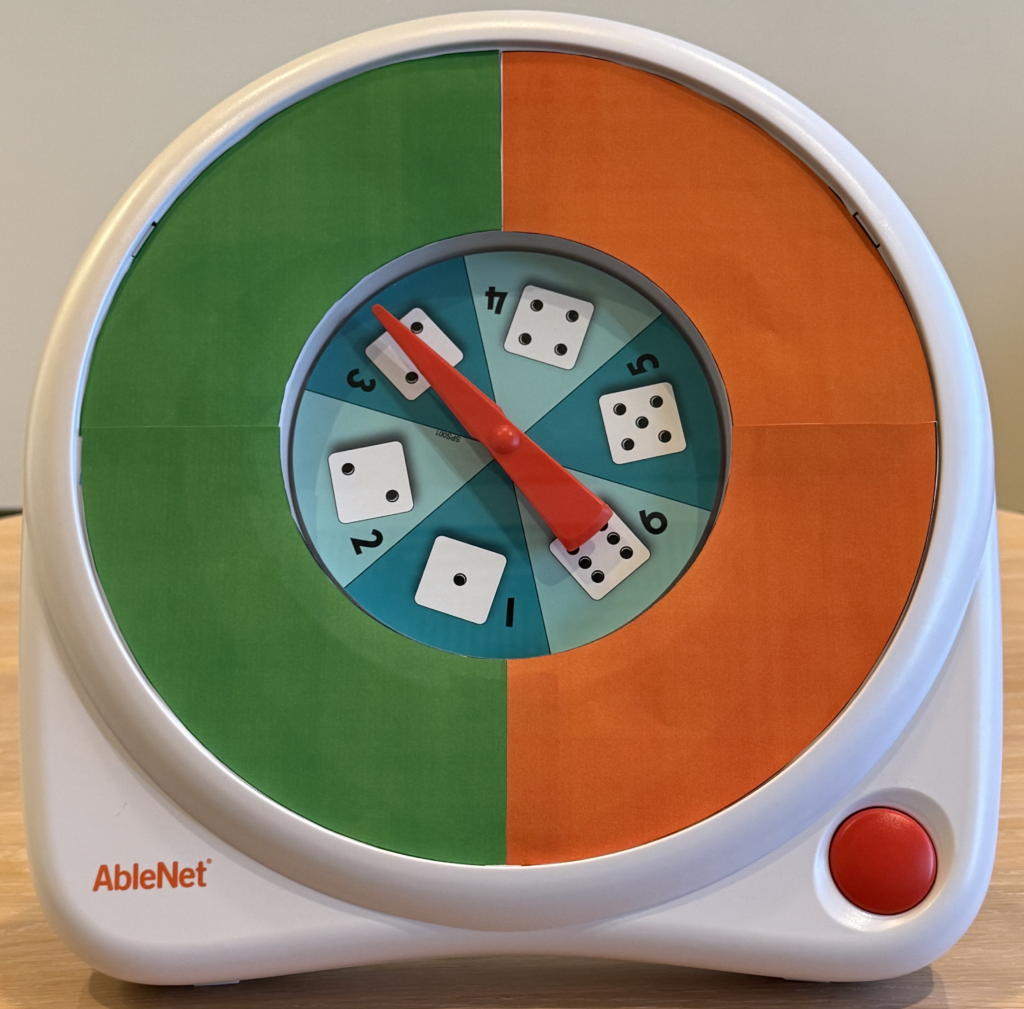
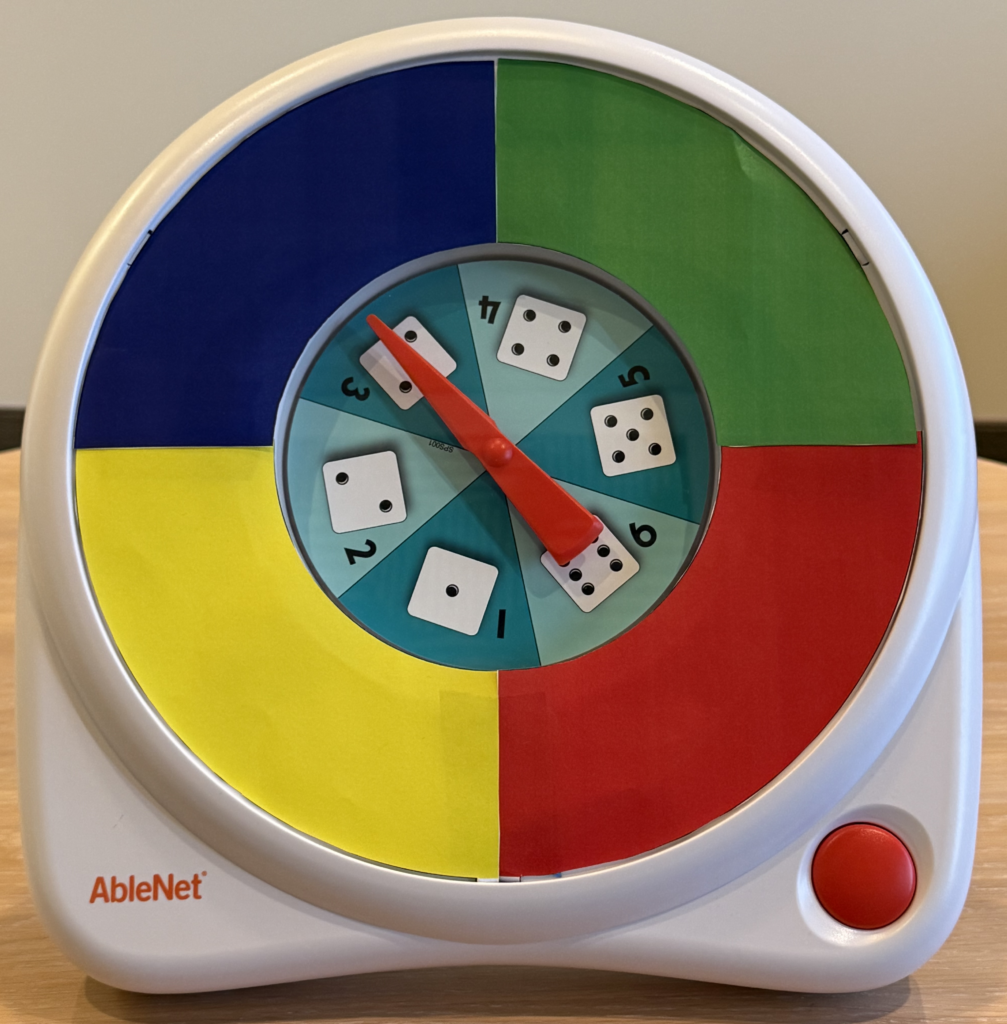
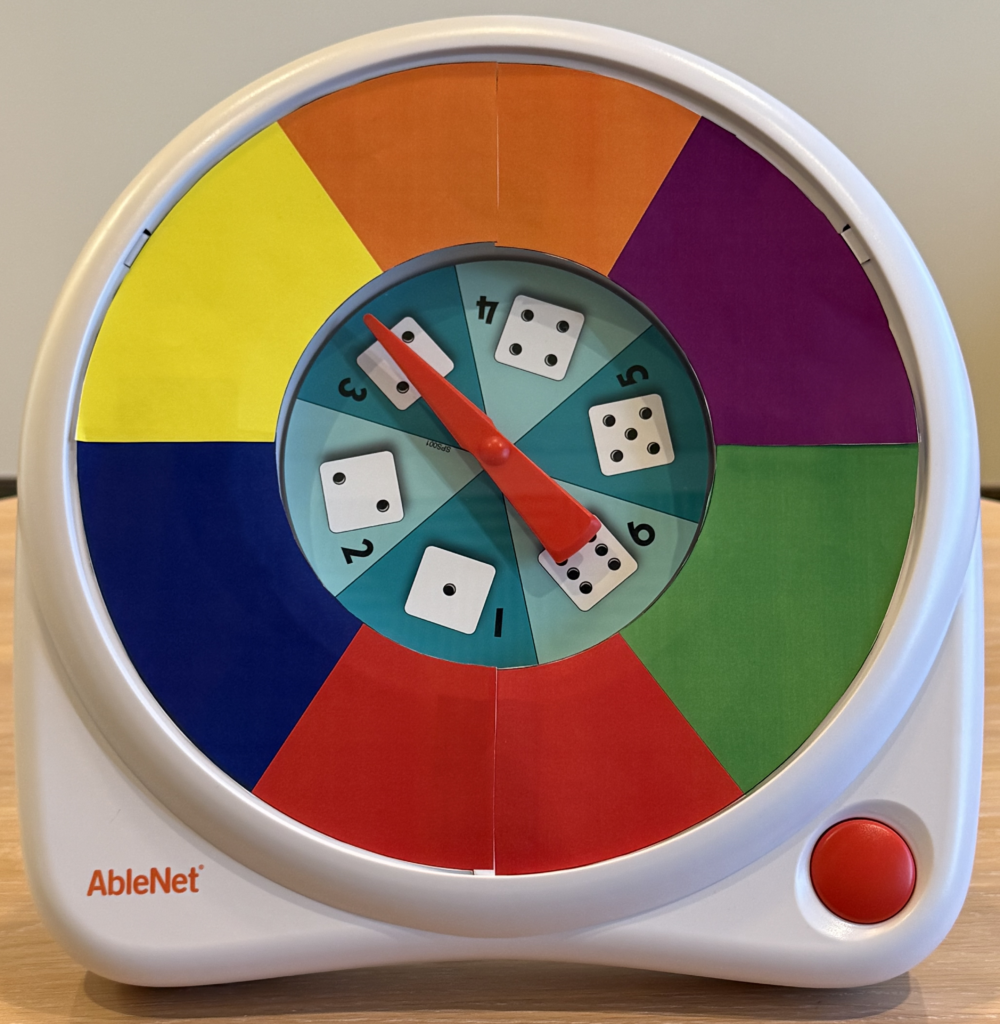
Assembly Tips and Troubleshooting Your Symbol Overlay🔗
- Make sure you are only attaching pages from matching sets. There are three sets: Set A, Set B, and Set C.
- Additionally, You can assemble the pages separately from the device using the top right, bottom left directions on each page or use the matching numbered sides.
- The sets are color-coded to aid with organization and assembly.
- Once the overlays are assembled, they do not have to be arranged on the device like the pictures. For example, they can be rotated 120 degrees in either direction.
- If you assemble the overlay on the device, this can help align them so they lay perfectly flat. Lay the parts on the device with the installed tabs, then tack them together with tape once you are happy. You can then remove it from the device and finish taping it.
For additional resources please visit the All-Turn-It Spinner Support Hub. If you have any issues please contact our ableCARE Product Success Team at this link.