Getting Started with Buddy Button IC


Introduction🔗
This article offers an introduction and overview of how to get started with the Buddy Button IC. To use an AbleNet wired switch, you will need the switch and an accessory with a 1/8-in/3.5-mm mono jack.
The video below offers an introduction and overview of how to use the Buddy Button IC Switch. It will guide you through initial setup, including how to change the interchangeable switch top to allow you to customize your switch.
First Time Use:🔗
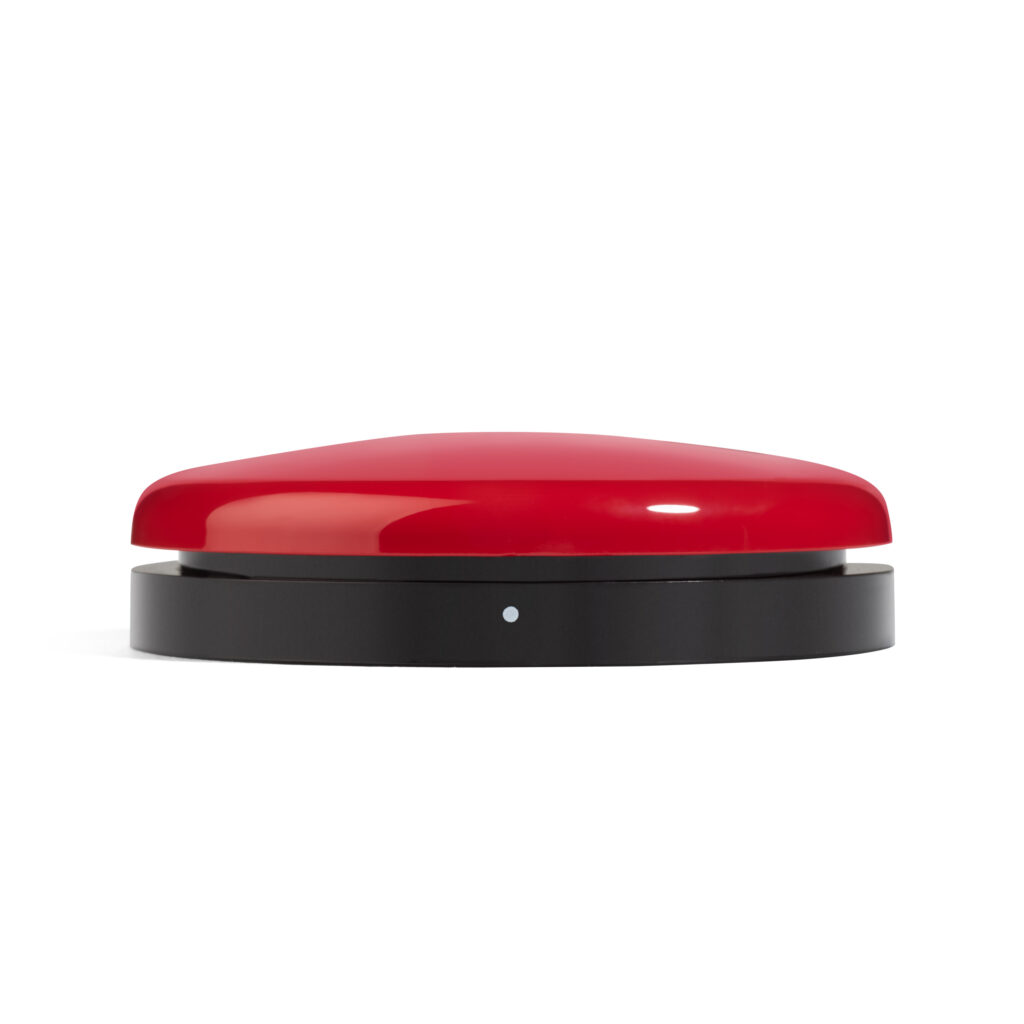
- Place a colored Switch Cap on top of the black switch base.
- Gently push down on the switch cap and turn it clockwise until you hear it click.
- Buddy Button IC switch plugs into any switch-adapted device with a standard, mono 3.5mm switch jack.
- Press the Buddy Button IC to activate the device
Additional Resource Links🔗
- Buddy Button IC Switch Quick Start Guide
- Buddy Button IC Switch Instructions for Use
- AT Resource Hub for activities and curriculum featuring this device
Tips and Troubleshooting🔗
Changing the Switch Top:
- Locate the white dot on the switch base. This is the location of the Release Tab.
2. Using the Release Tool, press firmly on the Release Tab while turning the Switch Cap counterclockwise.

Additional Support🔗
Please visit the Buddy Button IC Switch Support Hub for additional support resources.
Register and Reach Out🔗
Register your product for access to ableCARE or get more help from the ableCARE Product Success Team.
Was this article helpful?
3 of 11 found this helpful