From Pool to Playground: 3 Summer AAC Activities


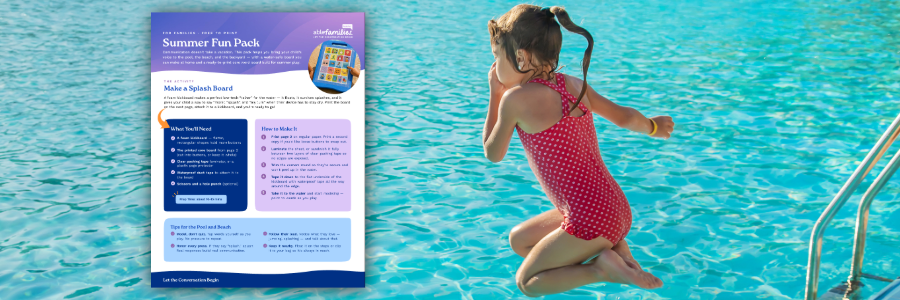
Communication doesn’t take a vacation! Check out these activities to help you bring your child’s voice to the pool, the beach, and the backyard. Print the full download below!
Activity 1: Make a Splash Board🔗
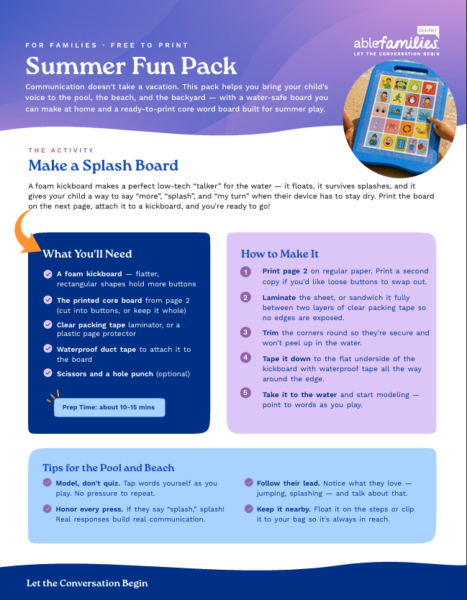
A foam kickboard makes a perfect lite-tech “talker” for the water. It floats, it survives splashes, and it gives your child a way to say “more,” “splash,” and “my turn” when their device has to stay dry. Print the board from the downloadable PDF, attach it to a kickboard, and you’re ready to go!
What You’ll Need🔗
- A foam kickboard – flatter, rectangular shapes hold more buttons.
- The printed core board from page 2 – cut it into buttons or keep it whole!
- Clear packing tape, a laminator, or plastic page protector.
- Waterproof duct tape to attach it to the board.
- Scissors for cutting
How to Make It🔗
- Print page 2 on regular paper. Print a second copy if you’d like to cut out the buttons and swap them around.
- Laminate the sheet, sandwich it between two layers of clear packing tape, or slip it into a plastic page protector and tape the top shut.
- Trim the corners round so they’re secure and won’t peel up in the water.
- Tape it down to the flat underside of the kick board with waterproof tape all the way around the edge.
- Take it to the water and start modeling: point to the words as you talk and show them how to use it!
Tips for the Pool and Beach🔗
- Model, don’t quiz. Tap words yourself as you play. No pressure to repeat or respond.
- Honor every press. If they point to “splash” say, “Splash!” and splash! Real responses build real communication.
- Follow their lead. Notice what they love–jumping, splashing–and talk about that.
- Keep it nearby. Float it on the steps or clip it to your bag so it’s always in reach.
Activity 2: Chalk Talk Driveway Game🔗
Turn your sidewalk or driveway into a giant version of your child’s talking page. Draw a handful of words from the QuickTalker Freestyle big enough to stand on. Then, hop to a word, and say it on the device together.
The chalk square and the button reinforce each other: your child connects the word they see on the ground to the word they press on the device. It’s communication, gross-motor play, and outdoor time all at once, and the chalk washes away with the hose when you’re done.
What You’ll Need🔗
- A box of sidewalk chalk
- Your child’s AAC device
- A flat patch of sidewalk, driveway, or patio
- A bucket of water or a hose for clean-up.
How to Make It🔗
- Pick 6-8 words from your child’s device. Favorites like “Go,” “More,” “Stop,” Jump,” “Splash,” and “Again,” work great.
- Draw each word in a big square large enough to stand inside. Match the chalk colors to the word categories on the device so the connection is clear.
- Copy the symbol. Sketch the same picture that’s on the device next to each chalk word. Now, the ground matches the screen!
- Hop and press. Jump to a word, find it together on the QuickTalker Freestyle, and press it. Then, do the action( “Jump!” then jump!”
- Take turns. Let you child lead you to a square, say it together on the device, and follow what they choose.
Tips for Chalk Play🔗
- Every square is a button. Each time you land on a word, find and press it on the device too. The chalk and the device teach the same word two ways.
- Keep the squares spread out. Room to move between words turns talking into a game, with the device traveling along with you.
- Let them erase. Spraying or splashing the words away is its own reason to press “more,” “all done,” and “wet,” on the device.
- Redraw favorites. If one word gets pressed and stomped again and again, that’s a win. Draw it bigger tomorrow!
Activity 3: Frozen Treasure Hunt🔗
Freeze small waterproof toys in a block of ice, then let your child free them using warm water, salt, and a little patience. Every step is a reason to communicate: “open,” “help,” “more,” “cold,” “go,” and it’s the perfect way to cool off on a hot afternoon.
What You’ll Need🔗
- A few small waterproof toys or laminated picture cards
- Warm water in a cup, plus a spoon or dropper
- A towel
- The page 2 board nearby
- A plastic container or bowl to freeze water in
- A pinch of salt to melt ice fast (and it surprises everyone)
How to Make It🔗
- Freeze the toys. Drop the toys into the container, fill it with water, and freeze it overnight.
- Pop the ice block out into a tray or sink where the mess is okay.
- Give your child the tools and wait.
- Let them ask for more water or help on their device or core board before you jump in.
- Model as it melts: “so cold!”, “I see it!”, “almost,” “keep going!”
- Celebrate each rescued treasure, then refreeze and play again.
Tips for the Hunt🔗
- Use bigger toys for little ones. Skip tiny pieces with children who still mouth objects, and always stay close.
- Pause on purpose. A sealed cup or stuck toy is a natural reason to say open or help.
- Narrate the senses. “Cold,” “wet,” “melting” — describing words come alive here.
- Stretch it out. Slow melting means more turns and more chances to talk; there’s no rush.
Download the Full Pack🔗
Engage in the summer fun by printing out these directions and the core board below!
Have a Question? 🔗
Contact a customer support team or submit a question to a Parent Enthusiast.